


WELCOME TO SHANTOU
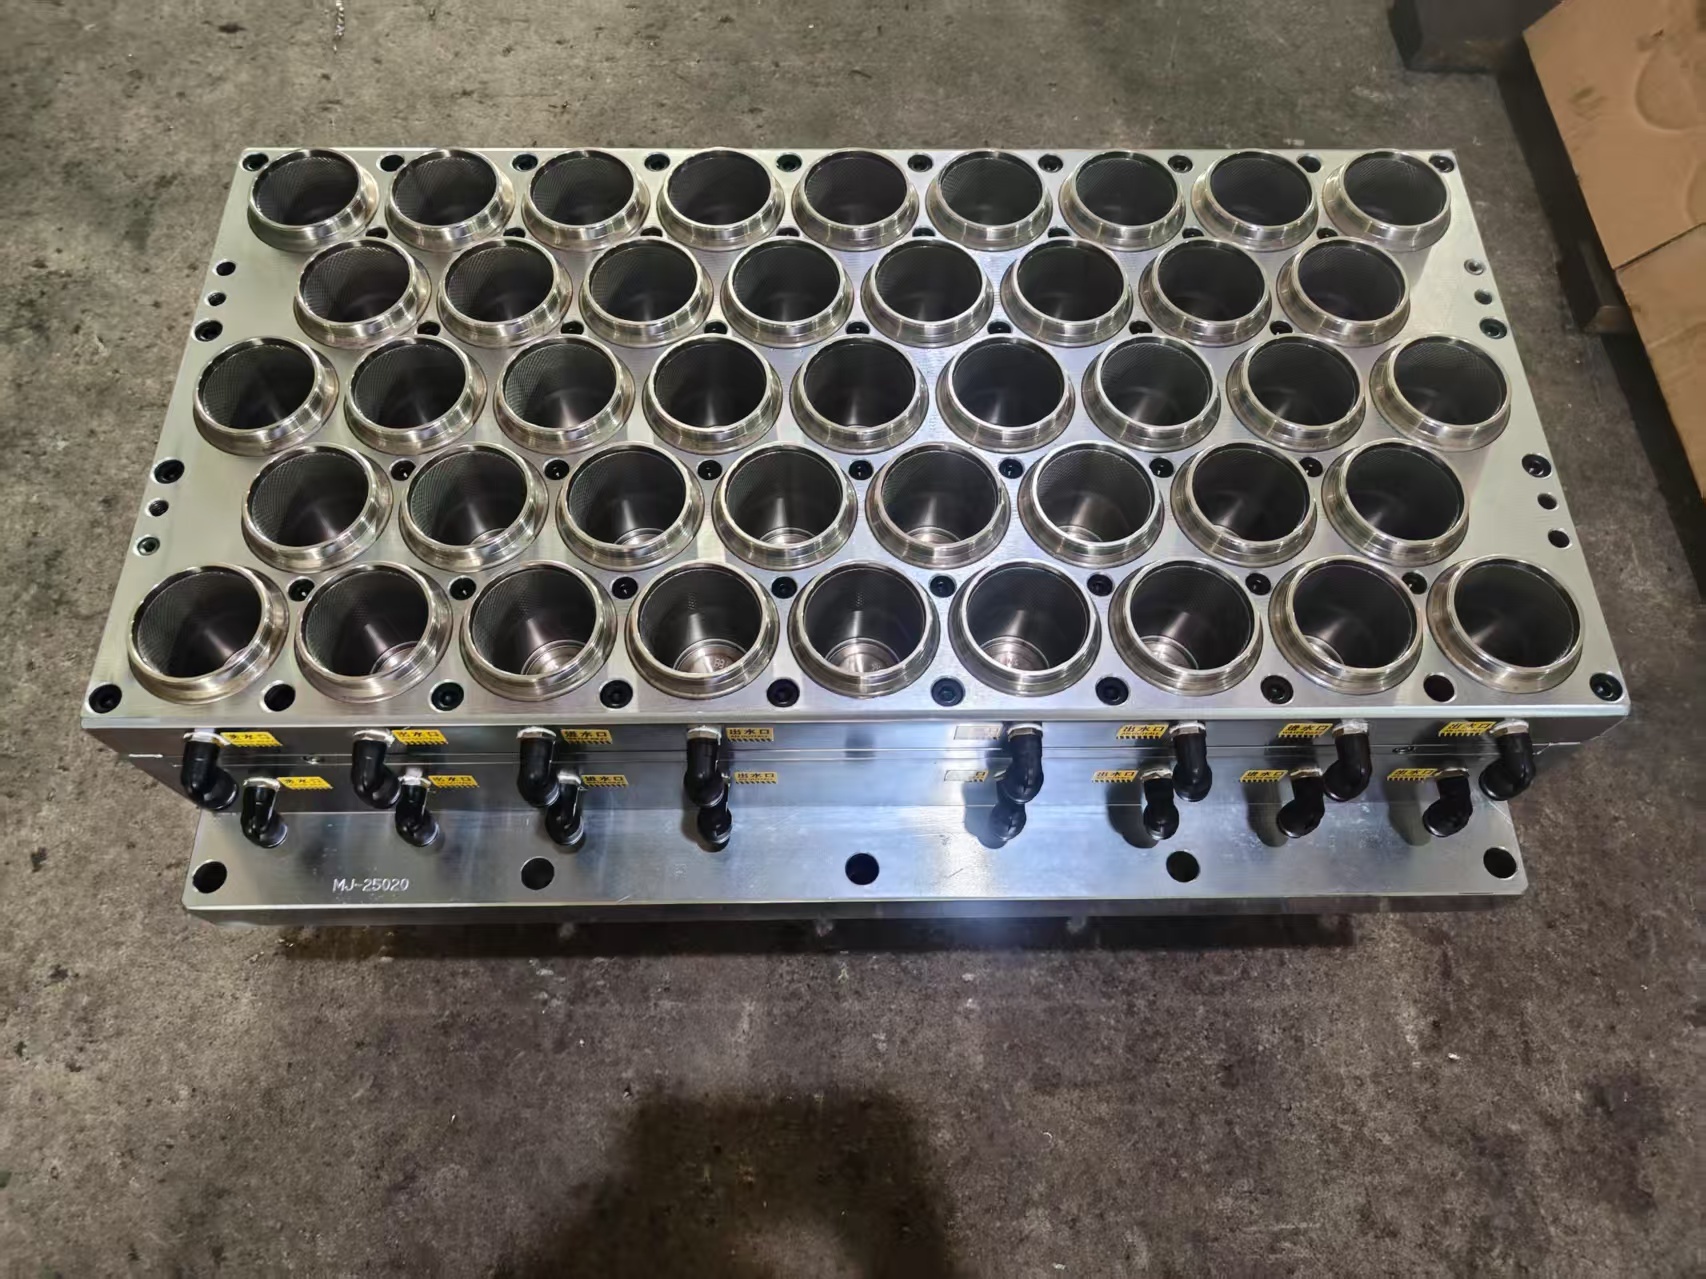
Cup Making Machine Mold Installation and Operation Instructions模具安装
Time: 2025-10-30 11:07:40.012
制杯机模具安装操作说明书
一 准备工作:
1、上模板上螺母全部放松并旋转上去,距离模台预留几公分空间;模板平面擦拭干净。
2、下模板放到最低,模板平面擦拭干净。
3、先测量需要安装模具的模体长度,根据测量数值调整链轨的宽度(链轨宽度>模体长度)。
二 操作:
- 安装上模:使用叉车把上模对准安装孔,并锁紧螺丝(注意方向:有快接头的这面朝向前面)。
- 安装下模:使用叉车把下模叉放进去下模板(注意方向:有快接头的这面朝向前面),把螺丝带上(不锁紧),并把四个合模销钉放进对应孔位。
- 校模:打开校模开关,手动慢速合模,让合模销钉进入上模对应销钉孔(过程当中需轻微调整下模前后左右位置),达到四个销钉上下模具都完全对位并且可以轻松转动销钉。
- 锁上模板:手动慢速合模,让下剪口进入上剪口大约0.3~0.5mm左右,并且五支点曲臂完全伸直,用手旋动上模板导柱位置的下螺母,使其完全与上模贴合,再旋动上面螺母并打紧。
- 锁下模:手动慢速开模到销钉与上模脱离,再手动慢速合模,检验合模销钉转动无阻力,再次让下剪口进入上剪口,再均匀锁紧下模螺丝。
- 安装上模拉伸板与拉伸连接板的之间的螺杆,调整长度均匀并锁紧。
- 气缸顶杯:连接下模顶杯气缸与顶杯板的螺丝,再根据产品高度调整顶杯限位杆的长度。
- 机械顶杯:根据产品高度,调整顶杯杆的高低。
- 最后根据模具前面预留进出水口和进气口连接水管、气管。
I. Chuẩn bị:
1. Nới lỏng tất cả các đai ốc trên tấm khuôn trên và xoay nó lên trên, chừa một khoảng cách vài cm giữa nó và bàn khuôn; lau sạch bề mặt tấm khuôn.
2. Hạ tấm khuôn dưới xuống vị trí thấp nhất và lau sạch bề mặt.
3. Trước tiên, đo chiều dài thân khuôn cần lắp đặt và điều chỉnh chiều rộng của ray xích theo số đo (chiều rộng ray xích > chiều dài thân khuôn).
II. Vận hành:
1. Lắp đặt khuôn trên: Dùng xe nâng để căn chỉnh khuôn trên với lỗ lắp và siết chặt các vít (lưu ý hướng: mặt có đầu nối nhanh hướng về phía trước).
2. Lắp đặt khuôn dưới: Dùng xe nâng để lắp càng khuôn dưới vào tấm khuôn dưới (lưu ý hướng: mặt có đầu nối nhanh hướng về phía trước), siết chặt các vít (nhưng không siết chặt hoàn toàn), và đặt bốn chốt đóng khuôn vào các lỗ tương ứng.
3. Căn chỉnh khuôn: Bật công tắc căn chỉnh khuôn, đóng khuôn bằng tay và từ từ, cho phép các chốt đóng khuôn đi vào các lỗ chốt tương ứng của khuôn trên (trong quá trình này, hãy điều chỉnh nhẹ vị trí trước-sau, trái-phải của khuôn dưới), cho đến khi cả bốn chốt được căn chỉnh hoàn toàn trên cả khuôn trên và khuôn dưới và các chốt có thể xoay dễ dàng. 4. Khóa tấm khuôn trên: Đóng khuôn bằng tay từ từ, cho phép đầu cắt dưới đi vào đầu cắt trên khoảng 0,3-0,5mm, đảm bảo tay quay năm điểm được mở rộng hoàn toàn. Xoay bằng tay đai ốc dưới tại vị trí trụ dẫn hướng của tấm khuôn trên để đảm bảo nó được căn chỉnh hoàn toàn với khuôn trên. Sau đó, xoay đai ốc trên và siết chặt.
5. Khóa khuôn dưới: Mở khuôn bằng tay từ từ cho đến khi chốt tách khỏi khuôn trên. Sau đó, đóng khuôn bằng tay từ từ, kiểm tra xem chốt đóng có quay không bị cản trở không. Cho phép đầu cắt dưới đi vào đầu cắt trên một lần nữa, sau đó siết đều các vít khuôn dưới.
6. Lắp các vít vào giữa tấm kéo giãn khuôn trên và tấm nối kéo giãn, điều chỉnh chiều dài đều nhau và siết chặt.
7. Cốc đẩy xi lanh: Nối xi lanh cốc đẩy khuôn dưới với tấm cốc đẩy bằng vít. Điều chỉnh chiều dài của thanh giới hạn cốc đẩy theo chiều cao sản phẩm.
8. Cốc đẩy cơ học: Điều chỉnh chiều cao của thanh cốc đẩy theo chiều cao sản phẩm.
9. Cuối cùng, kết nối ống nước và ống khí theo các đầu vào/ra và đầu vào khí đã được thiết lập sẵn ở mặt trước của khuôn.
Cup Making Machine Mold Installation and Operation Instructions
I. Preparation:
1. Loosen all nuts on the upper mold platen and rotate it upwards, leaving a few centimeters of space between it and the mold table; wipe the mold platen surface clean.
2. Lower the lower mold platen to its lowest position and wipe its surface clean.
3. First, measure the length of the mold body to be installed, and adjust the width of the chain track according to the measurement (chain track width > mold body length).
II. Operation:
1. Install the upper mold: Use a forklift to align the upper mold with the mounting hole and tighten the screws (note the direction: the side with the quick connector faces forward).
2. Install the lower mold: Use a forklift to insert the lower mold fork into the lower mold platen (note the direction: the side with the quick connector faces forward), tighten the screws (but not fully tighten), and place the four mold closing pins into the corresponding holes.
3. Mold alignment: Turn on the mold alignment switch, manually and slowly close the mold, allowing the mold closing pins to enter the corresponding pin holes of the upper mold (during the process, slightly adjust the front-back, left-right position of the lower mold), until all four pins are fully aligned on both the upper and lower molds and the pins can be easily rotated. 4. Lock the upper mold plate: Manually close the mold slowly, allowing the lower shear tip to enter the upper shear tip by approximately 0.3-0.5mm, ensuring the five-point crank arm is fully extended. Manually rotate the lower nut at the guide post position of the upper mold plate to ensure it is fully aligned with the upper mold. Then rotate the upper nut and tighten it.
5. Lock the lower mold: Manually open the mold slowly until the pin disengages from the upper mold. Then manually close the mold slowly, checking that the closing pin rotates without resistance. Allow the lower shear tip to enter the upper shear tip again, then evenly tighten the lower mold screws.
6. Install the screws between the upper mold stretching plate and the stretching connecting plate, adjusting the length evenly and tightening them.
7. Cylinder ejector cup: Connect the lower mold ejector cup cylinder to the ejector cup plate using screws. Adjust the length of the ejector cup limit rod according to the product height.
8. Mechanical ejector cup: Adjust the height of the ejector cup rod according to the product height.
9. Finally, connect the water pipes and air pipes according to the pre-reserved inlet/outlet and air inlet on the front of the mold.
Related News
Exploring the Advantages of China Multi-Station Thermoforming Machines
In the realm of manufacturing and processing machinery, the China multi-station thermoforming machine stands out as a versatile tool designed for producing a wide array of plastic products. Thermoforming is a process where plastic sheets are heated until pliable and then formed into specific shapes using molds. This technique is particularly advantageous for high-volume production runs and intrica
Key Performance Indicators for PVC Thermoforming Machine Efficiency Introduction to PVC Thermoforming Machine Efficiency In the competitive landscape of the manufacturing industry, particularly in the realm of plastic processing, measuring and enhancing the efficiency of PVC thermoforming machines is paramount. As companies strive to maximize production while minimizing waste, understanding the **
Understanding the Role of PP Thermoforming Machine Companies in Plastic Manufacturing
In the ever-evolving landscape of the plastic processing industry, PP thermoforming machine companies play a pivotal role in advancing manufacturing processes. These specialized companies focus on the design, development, and production of thermoforming machines that utilize polypropylene (PP), a versatile and widely used thermoplastic polymer. Thermoforming, a process that involves heating a plas
Maximize Output with the Newest Pet Thermoforming Machine: A Comprehensive Guide
Maximize Output with the Newest Pet Thermoforming Machine: A Comprehensive Guide Introduction to Pet Thermoforming Machines The manufacturing landscape is continually evolving, and with it, the demand for more efficient production methods. Pet thermoforming machines have emerged as essential tools in plastic processing, offering innovative solutions for creating high-quality products. In this guid
Contact Us
China Shantou Longsheng Industry Co., Ltd.
Address:No.44 Xigang Road, Shantou, Guangdong, China
Mob: +86-13302710116
Shiela:+86-15362312727
E-mail: longshengmachine@gmail.com


TikTok